October 15, 2024

Run Multiple Websites on your 1&1 Host Account

This blog is about how to run multiple web sites on one 1&1 Linux host account.  I wanted to run three of my web sites from my one 1&1 linux host account.

SSH over to your linux host account using an ssh client like putty. Then create folders for each of your domains.

ssh username@domain1.com
mkdir domain1
mkdir domain2
mkdir domain3

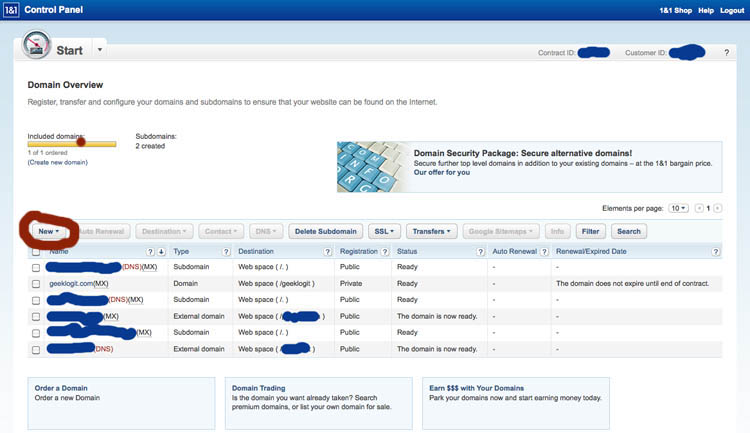
Go to your 1&1 Control Panel and click on Domains.  Click on New, then Add Domain.

After you created all your domains change the destinations in the Domains section of the 1&1 Control Panel to the folders you created earlier.  Now just put all of web site content for each of your web sites in the correct folders.

You should now be able to browse all your sites from your web browser.
WordPress Install with 1&1 Hosting

1&1 hosting offers WordPress as a Click & Build application. Which makes it an easy install, but they usually use an older version. I have the 1&1 Linux Hosting package which is required for WordPress on 1&1 to have access to MySQL.

I opted to install the latest version, so I had to manually install it.

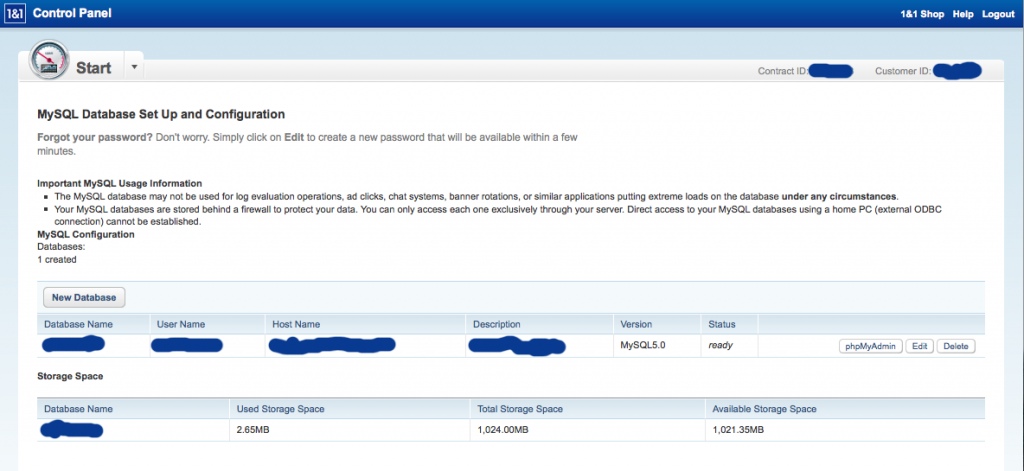
You need to setup the MySQL database from 1&1 Control Panel – MySQL Administration.

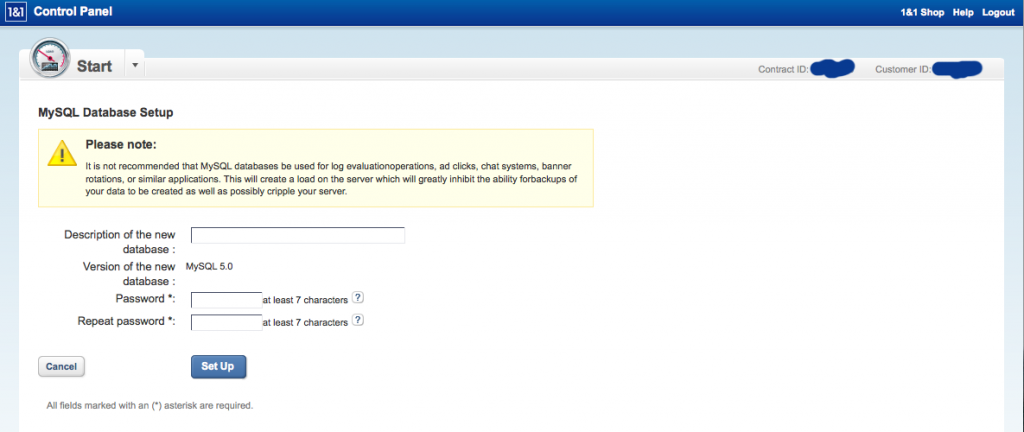
Click on “New Database”

Enter a description, setup a password, and click on “Set Up”

Once the Database shows a status of “Ready” then go on to the next step.

Now ssh over to you 1&1 shell account using an a shell (Putty). From the 1&1 control panel click on Secure Shell (SSH) Access. This page will provide you with the hostname, username and you can set the password here for ssh.

Now download WordPress from wordpress.org

ssh username@geeklogit.com
wget http://wordpress.org/latest.tar.gz
tar -zxvf latest.tar.gz
mv wordpress geeklogit
cd geeklogit

Now we need to copy and rename the wp-config-sample.php file to wp-config.php.

cp wp-config-sample.php wp-config.php
vi wp-config.php

Change the fields below with your info.

define('DB_NAME', 'username');

/** MySQL database username */
define('DB_USER', 'databasename');

/** MySQL database password */
define('DB_PASSWORD', 'databasepassword');

/** MySQL hostname */
define('DB_HOST', 'databasename.db.1and1.com');

Then save the changes. (ESC then shift ZZ for VI)

Now open up your web browser to the URL of your WordPress blog. Then type in your site and add /wp-admin/install.php to the address (example: www.hostname.com/wp-admin/install.php or www.hostname.com/blog/wp-admin/install.php

For my site, I created a subfolder called geeklogit in the root of shell account. Then in the 1&1 Control Panel under Domains Destinations I put /geeklogit. So for my site it would be http://www.geeklogit.com/wp-admin/install.php.

From this page, WordPress will have you finish setting it up and give you an admin password. Please write this down. You will use this log on and make changes to your blog.